Easy DIY Flowerpot Umbrella Stand
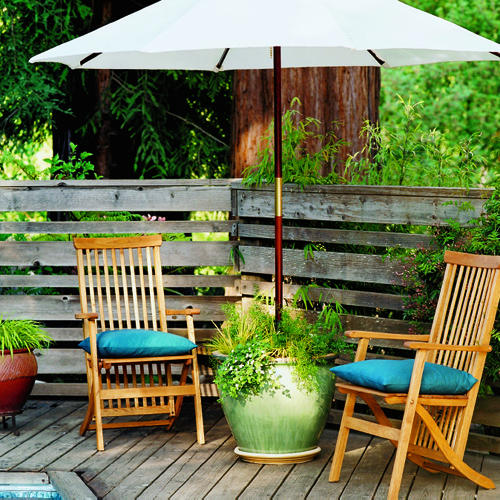
Strong wind is no friend to most patio umbrellas, but it would take a hurricane to budge this setup.
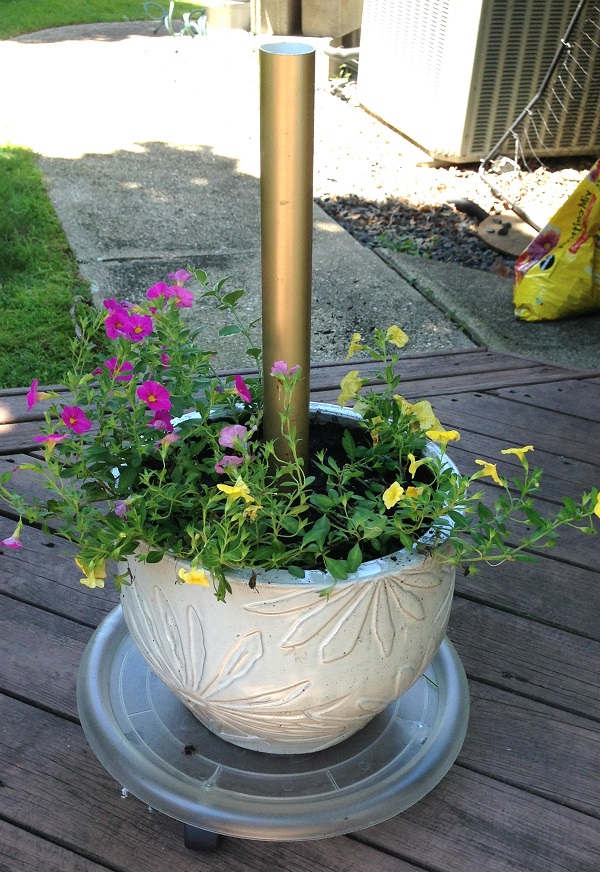
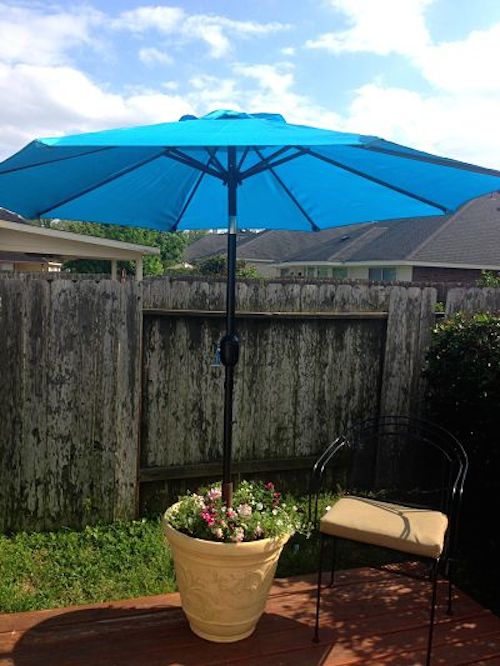
The umbrella rises from a sleeve centered in a flowerpot that’s filled with several layers of material: a bottom layer of rock/gravel to hold the sleeve in place and a top layer of planting mix. When there’s no need for shade, just lift out the umbrella — the plants should mask the sleeve.
Choose any large pot and umbrella that match your garden decor and coordinate with each other.
The container should be broad-based for stability and at least 15 inches tall and 20 inches in diameter so there’s room for the layers.
All that’s needed are the following:
- 1 large, heavy flower pot (minimum of 18″ to 24″ tall)
- 1 piece of 2-inch PVC plumbing pipe (cut 2 inches shorter than the depth of the pot)
- 1 metal plumbing flange to fit 2-inch pipe
- 1 transitional “screw-on thingy” to add to the flange, allowing the PVC pipe to fit into flange
- Rocks, gravel or crushed concrete
- Potted annuals or perennials
- Metal peg or nail (optional)
The tools needed include:
- Tape measure
- Hacksaw (to cut the PVC pipe)
- Electric drill (optional)
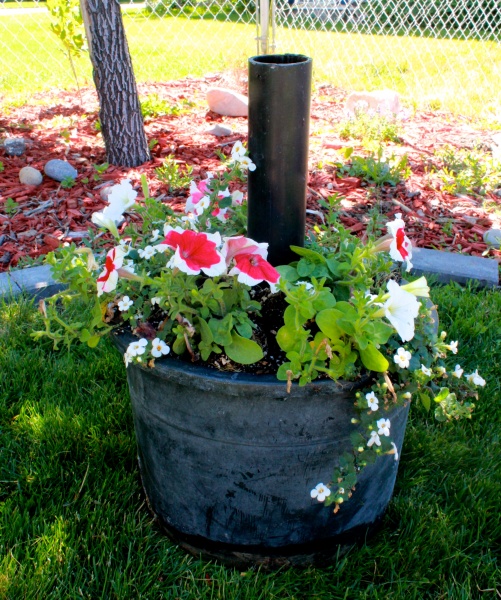
Step 1: Measure the depth of the large flower pot and subtract two inches. This gives you the length needed to cut the PVC pipe with the hacksaw. Screw the transitional “thingy” onto the flange, place the PVC pipe into the transitional “thingy” and place the combined pieces into the large flower pot.
Step 2: Fill flower pot with 4-5 inches of crushed concrete. Reposition the pipe/flange contraption so it is centered. Continue to fill the pot with crushed concrete until reaching 6 inches from the lip of the flower pot.
Step 3: Level out the crushed concrete in the flower pot. Place flowers and vegetation in the large flower part and around the pole. Place the umbrella in the stand!


Comments are closed.