DIY Hanging Flower Ball for Your Garden
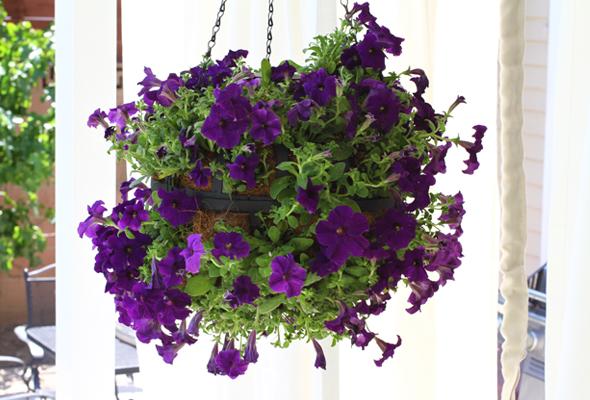
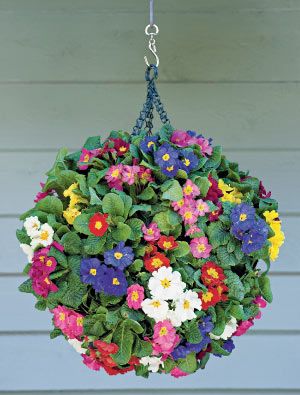
You don’t need a large garden to enjoy there. Just a single ball of blooms as glorious as these will command the same impact as a whole bed full of flowers. It looks fabulous, and it’s unique. Just make sure you give it a secure hanging spot and an extra-prominent location.
Materials
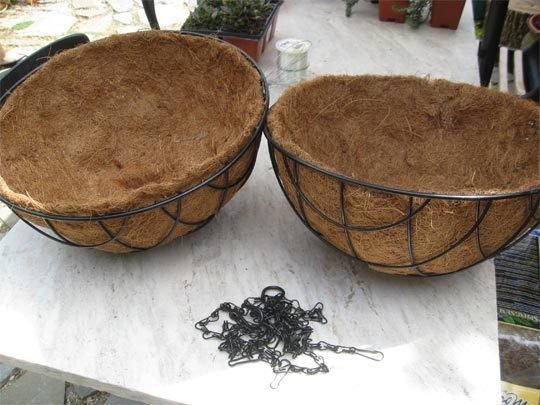
- 2 hanging half-circle flower baskets with coco fiber inserts
- Plants or flowers of your choice
- Cardboard
- Potting soil
- Zip ties or garden wire
- Scissors
- Ceiling hook
Flowers for a ball
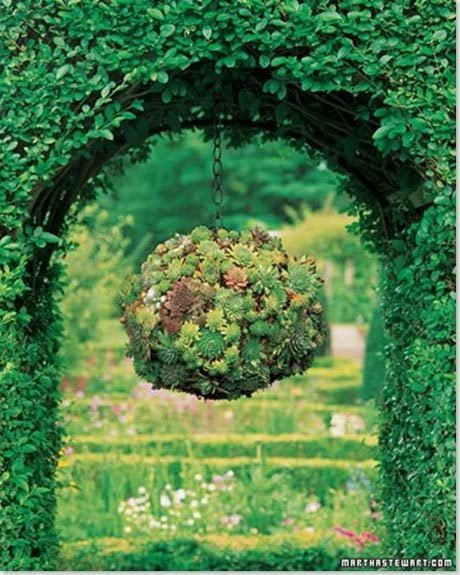
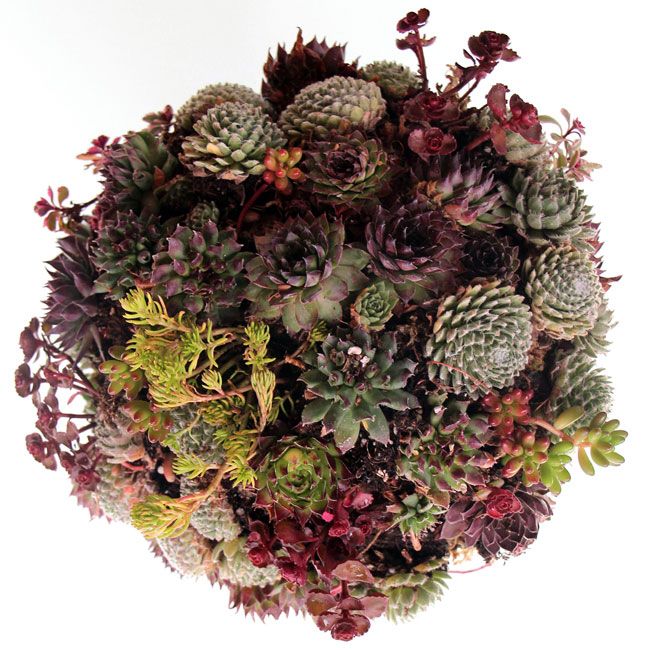
Annuals, perennials, mosses, succulents and ivy are the best types of plants to use depending on what you want the final product to look like, where the plant will live and how you intend to care for it. Do a little research and figure out which plants will work best for your environment.
There are all sorts of annuals, both spring and summer bloomers, which can be used to create a flower ball. The main requirement is that they’re low growing and compact in habit.
Spring: pansy, viola, polyanthus, lobelia, alyssum, cranesbill geranium
Summer: impatiens, petunia, gazania, torenia, dwarf marigold
Instructions
-
- Working with both planters at the same time on your worktable, remove the coco fiber inserts from the baskets. Using the scissors, cut 3” slits in the coco fiber inserts, spacing each about 1-2” apart. Make sure these slits are staggered so that you’ll have slits over the entire surface of the coco fiber inserts. These will later be used to insert the plants.
-
- Put the coco inserts back into the center of the baskets and place the baskets base-down onto your working space.
- Insert the plants by the root ball from the outside of the planter into the slits you cut into the coco fiber. Fill in as much of the basket’s sides as you can with the plants. Being that the base of the basket is resting on the table, you will fill that portion of the planter in later.
-
- Once the plants have been placed, gently breakup the root balls to release the roots, allowing the soil to fall into the center of the coco fiber inserts. Once the root balls have been broken, fill the baskets with the potting soil. Place the foam blocks in you basket. The foam will help your ball hold water as well as reducing the weight. Fill around the foam with your soil until it is level at the top. Be sure to pack the baskets tightly with the soil because once watered, the soil will expand, but then contract as it dries.
-
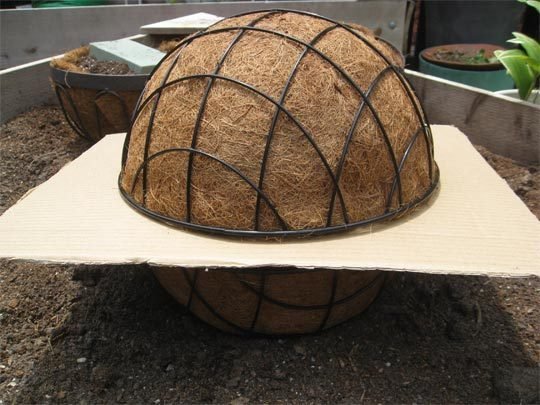
- Grab your cardboard. It should be flat and bigger than the surface area of your basket. Place it on top of one basket. While firmly holding the cardboard so you don’t lose any soil, flip the basket on top of the other basket. The cardboard should now be sandwiched between the 2 baskets. Use one hand to keep the baskets lined up while the other slowly pulls the cardboard out. It sounds trickier than it actually was, but it also really helps to have a friend help you so you have an extra set of hands.
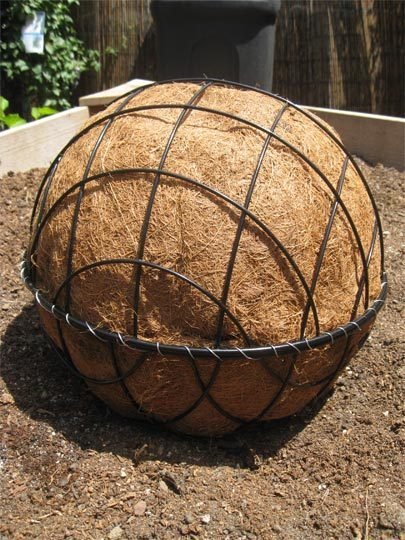
- Tightly secure the baskets to one another by tying the garden wire around the top rims of each basket. Space these wire ties about 3” apart.
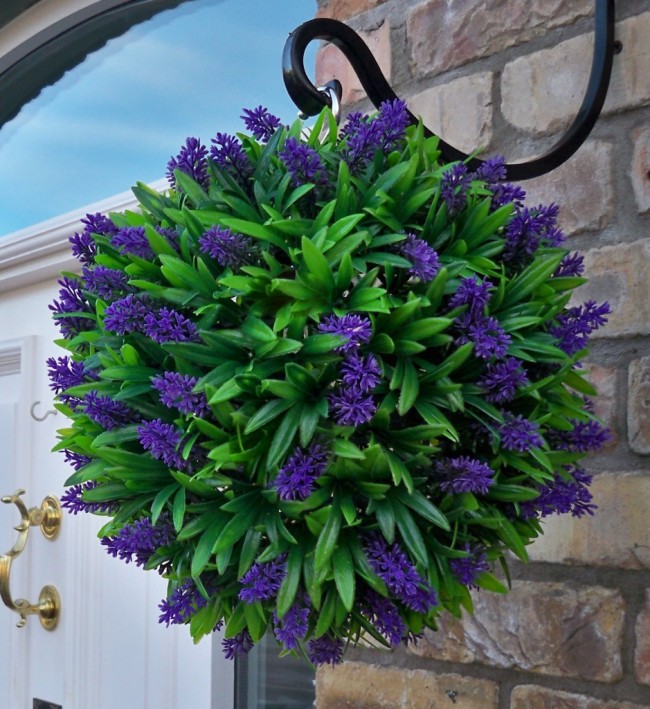
- Hang the flower sphere in to place where you want the arrangement to live using a standard ceiling hook.
- With the sphere now hanging, fill in what was the bottom of the baskets with the remainder of the flowers. Once completely covered in flowers, thoroughly water the spheres using a garden hose or watering pot. Be sure you do this in an area that you won’t mind the water draining onto.
- As the seasons change, you can disassemble the sphere and plant new flowers if you want a new look.
Hang the flower ball in a position which receives dappled sunlight or at least afternoon shade, to avoid it drying out too quickly. While the seedlings are maturing, water it regularly, using a plastic funnel placed in the top of the ball. Every fortnight, feed with a soluble fertiliser such as Thrive. Periodically spray the seedlings with a solution of seaweed tonic to give them an extra boost.


Comments are closed.