DIY Easter Eggs: Happy Easter!
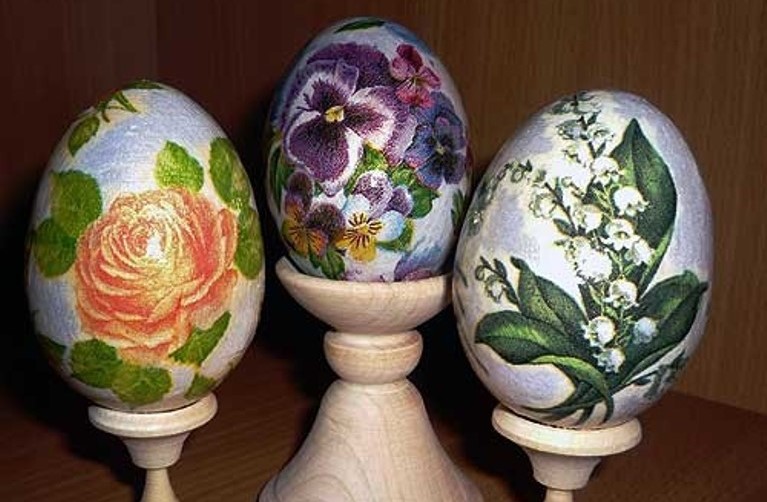
Easter eggs, also called Paschal eggs, are decorated eggs that are often given to celebrate Easter or springtime. As such, Easter eggs are common during the season of Eastertide (Easter season). The oldest tradition is to use dyed and painted chicken eggs, but a modern custom is to substitute chocolate eggs, or plastic eggs filled with confectionery such as chocolate. Although eggs, in general, were a traditional symbol of fertility and rebirth, in Christianity, for the celebration of Eastertide, Easter eggs symbolize the empty tomb of Jesus, from which Christians believe Jesus resurrected. In addition, one ancient tradition was the staining of Easter eggs with the colour red “in memory of the blood of Christ, shed as at that time of his crucifixion.” This custom of the Easter egg can be traced to early Christians of Mesopotamia, and from there it spread into Russia and Siberia through the Orthodox Churches, and later into through Europe through the Catholic and Protestant Churches. This Christian use of eggs may have been influenced by practices in “pre-dynastic period in Egypt, as well as amid the early cultures of Mesopotamia and Crete”.
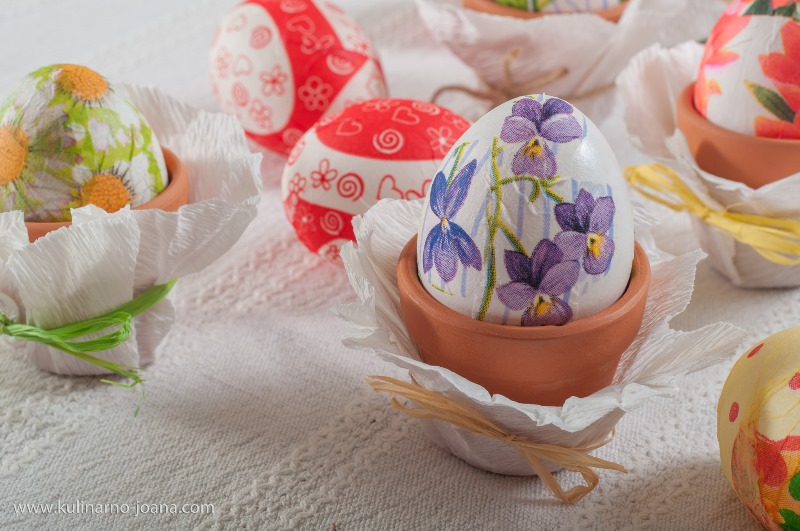
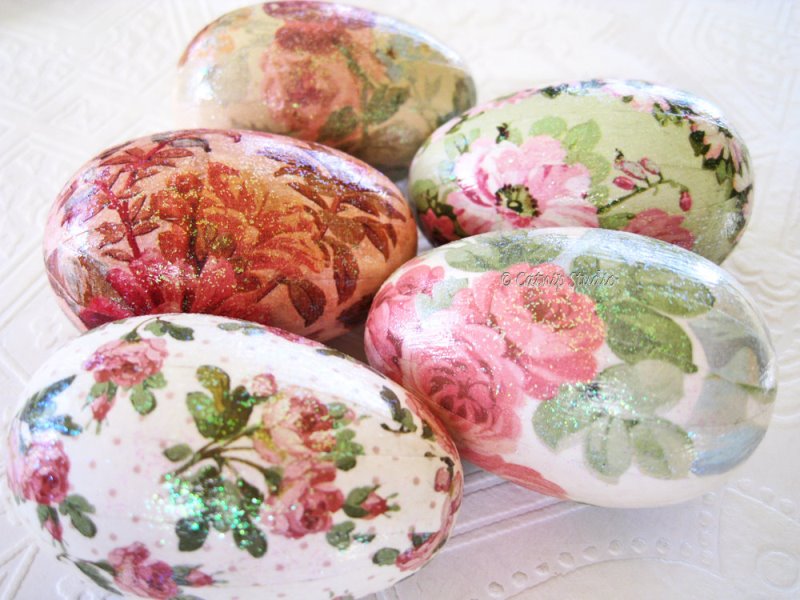
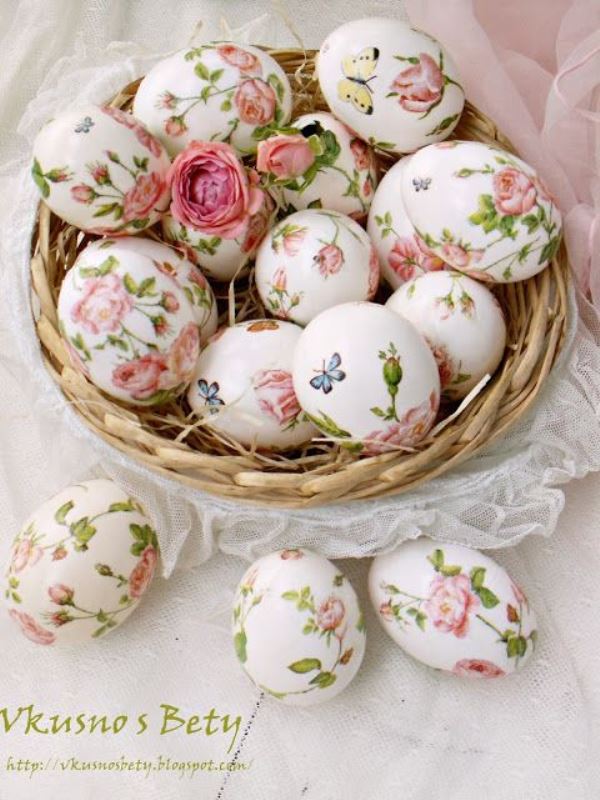
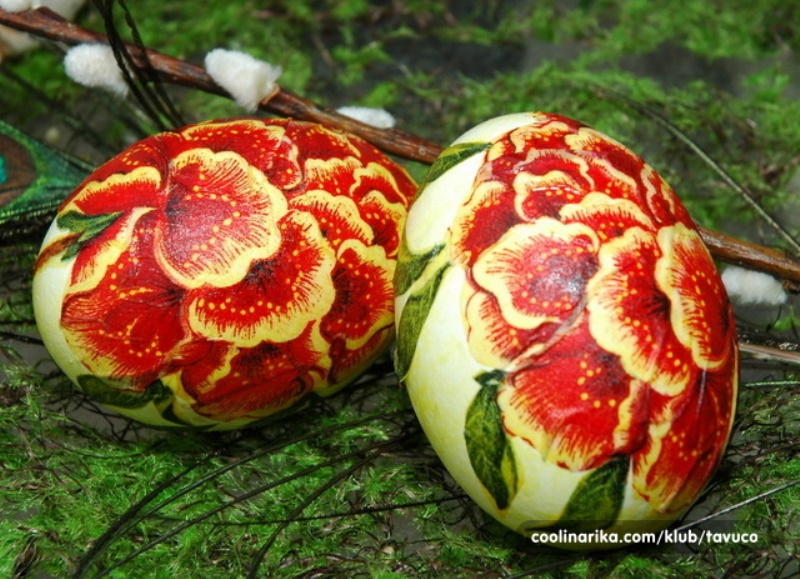
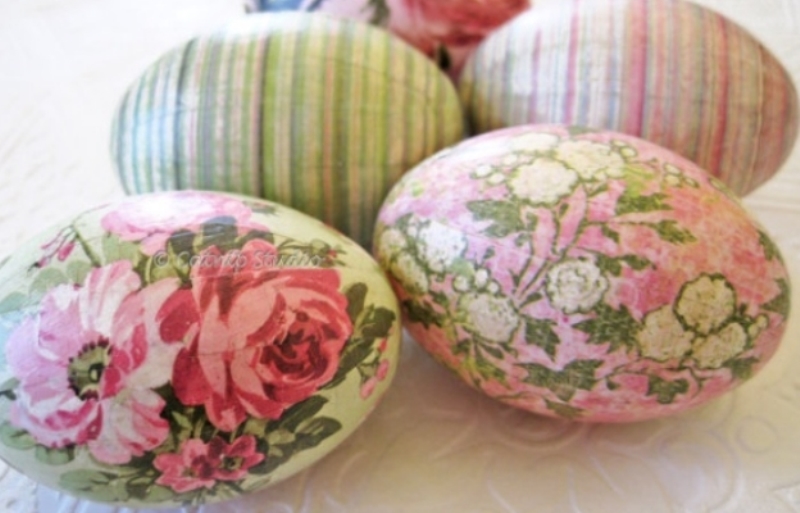
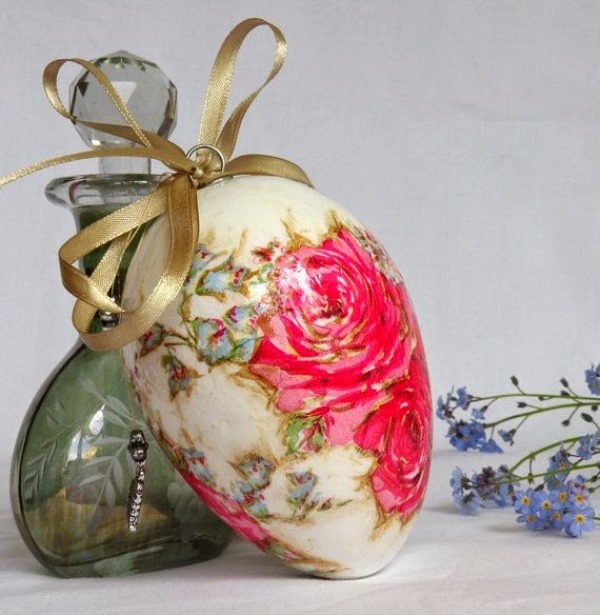
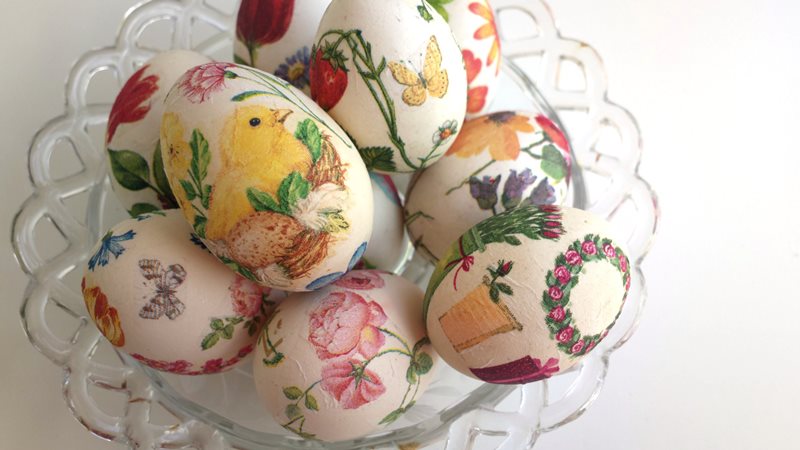
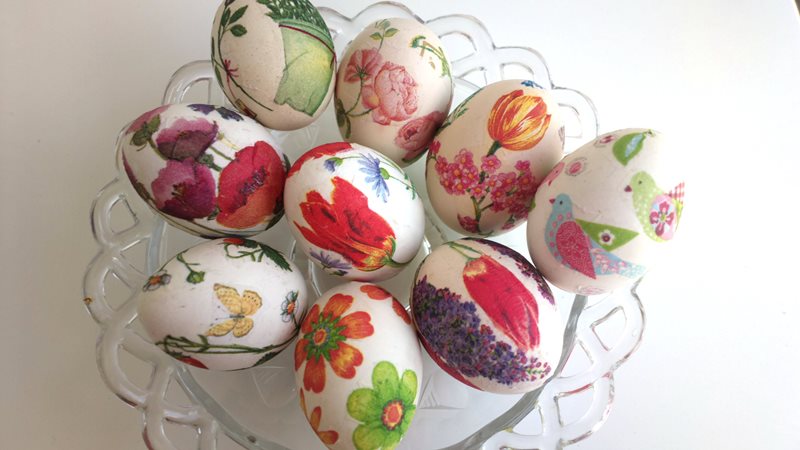
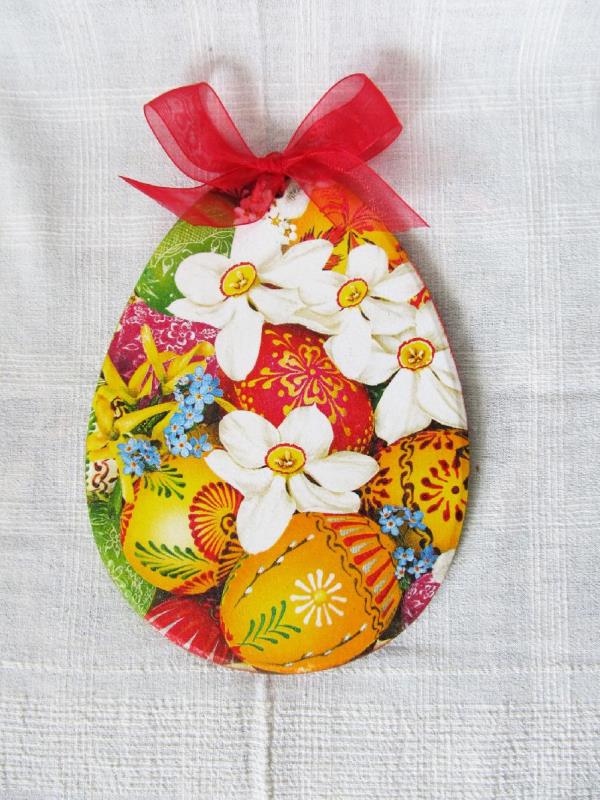
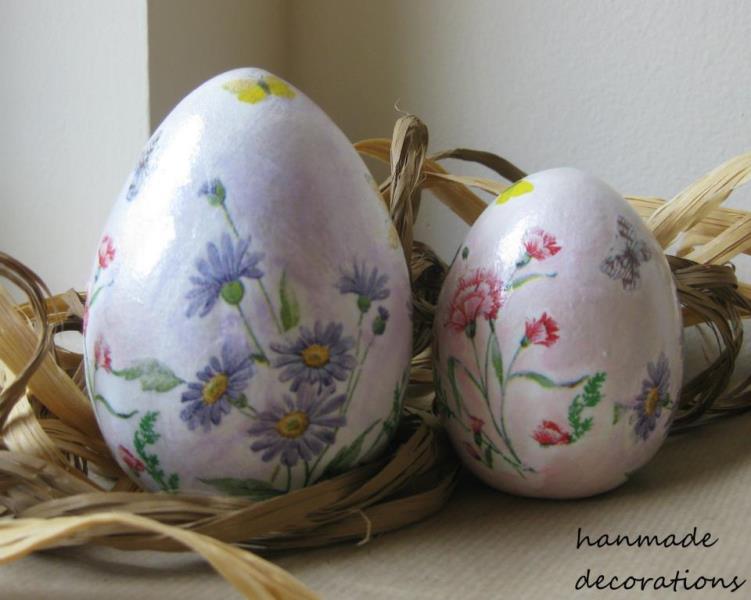
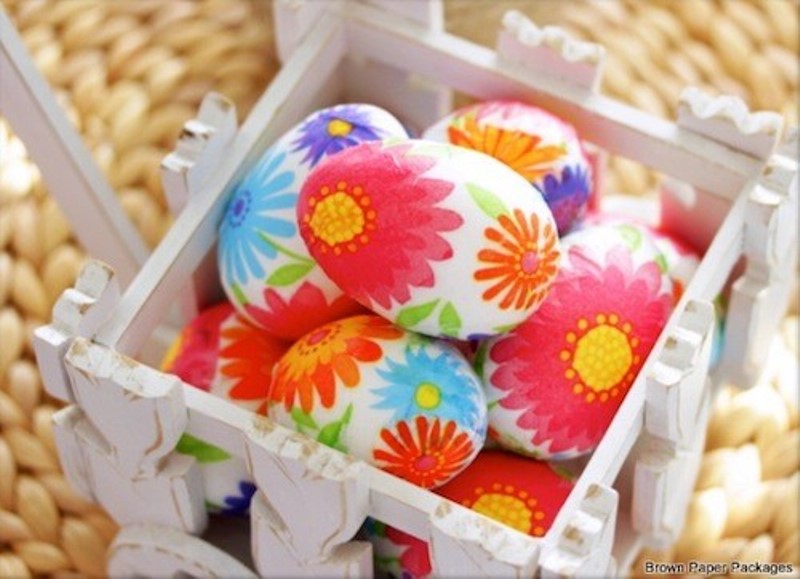
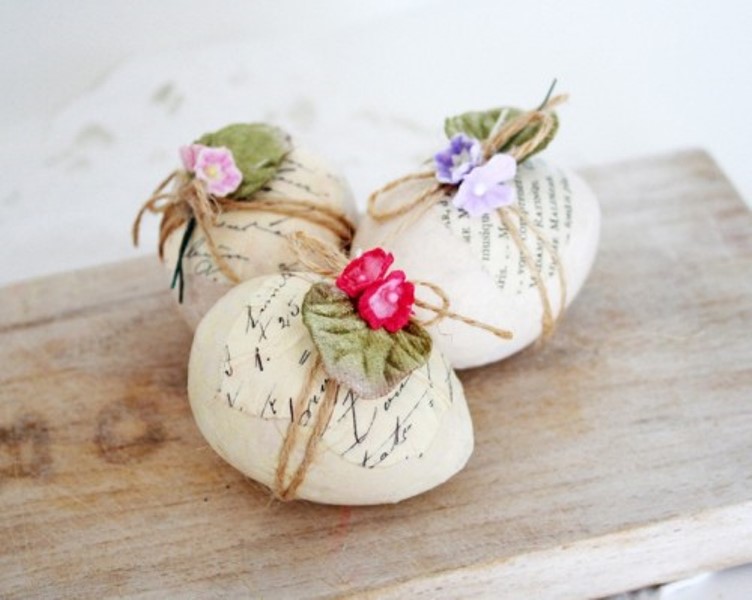
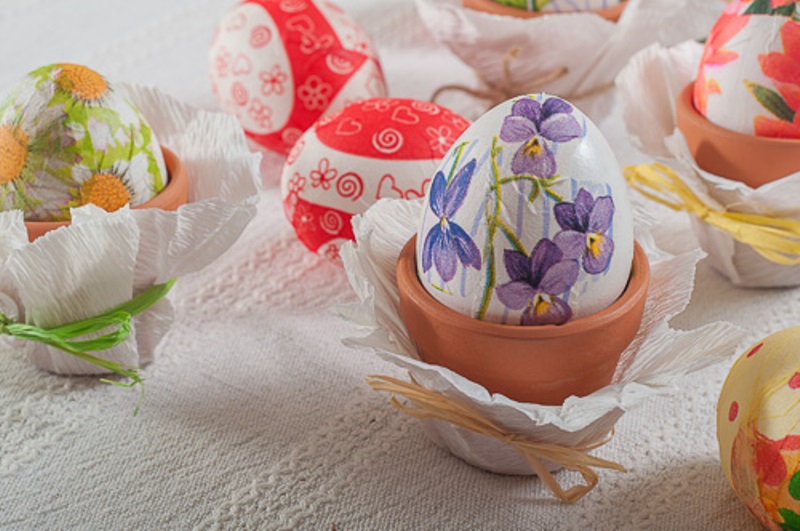
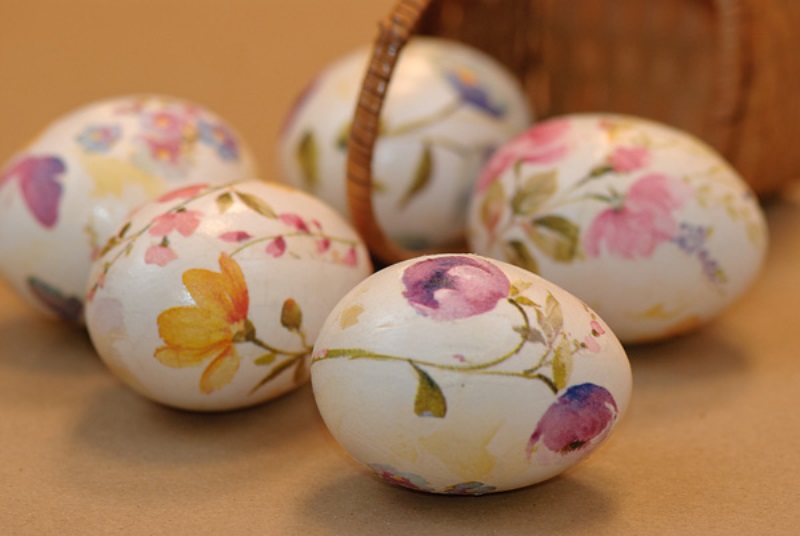
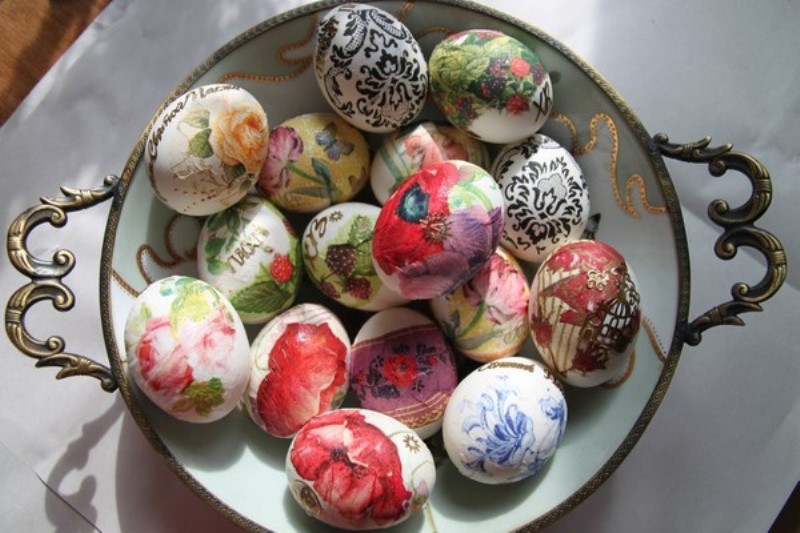
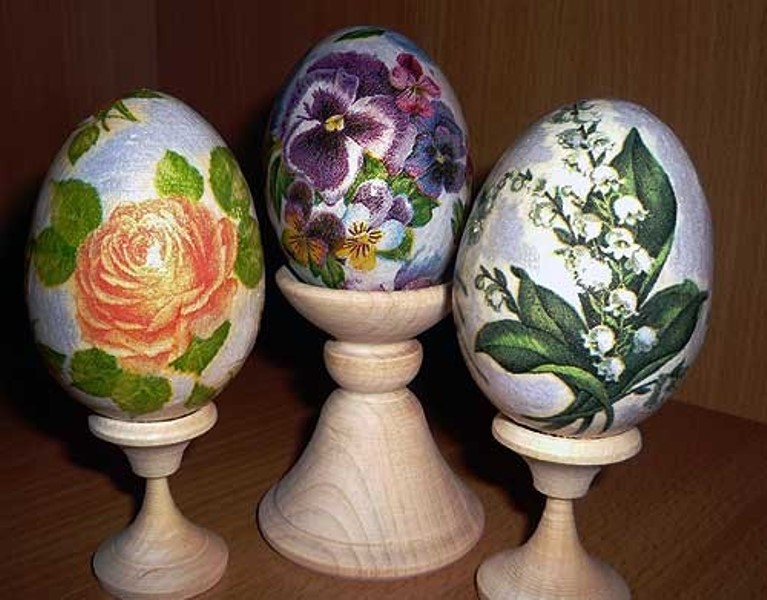
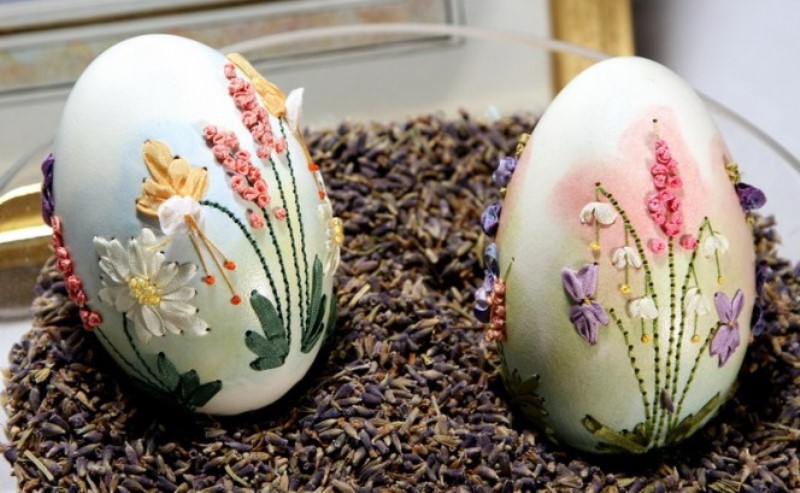
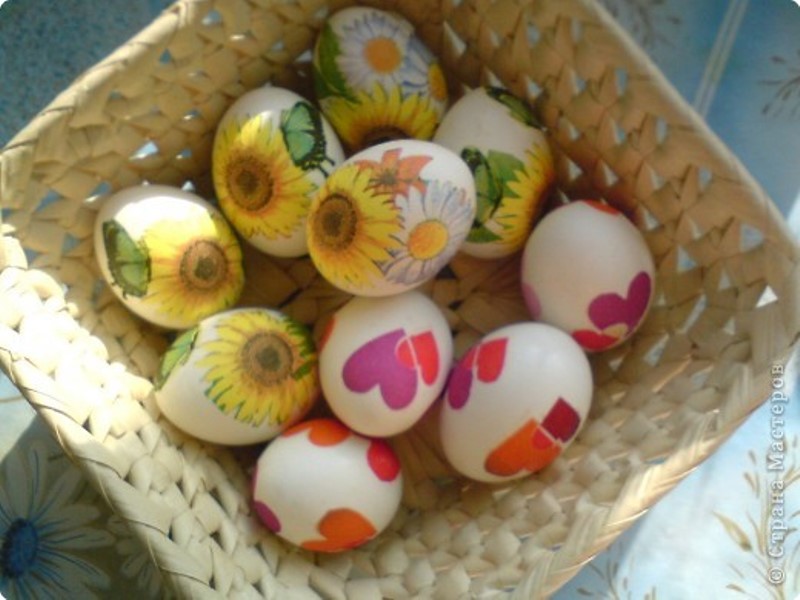
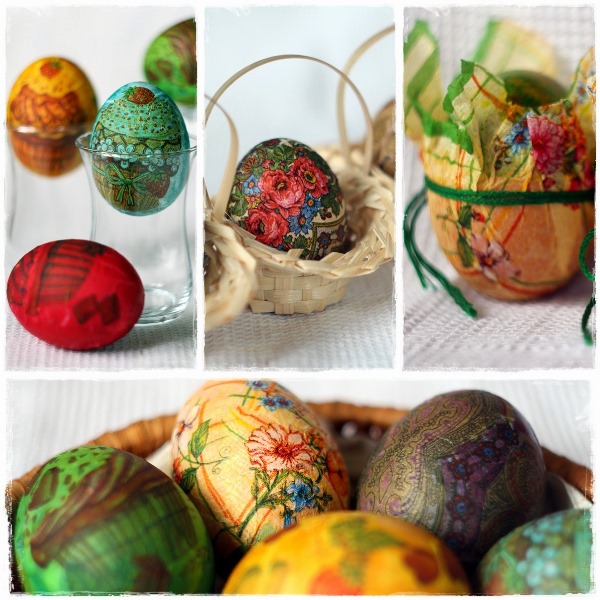
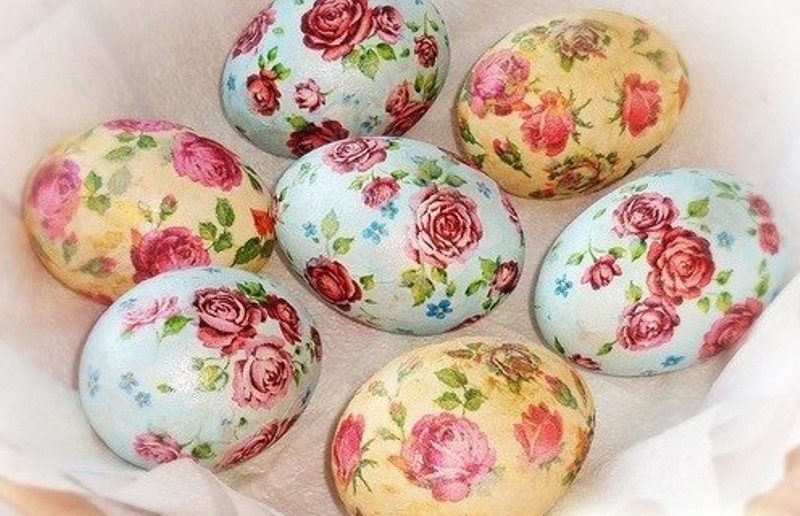
If some of these pics raised your creativity and you want to try to make it yourself, then read on!
The eggs are decorated using the art technique called Decoupage
Decoupage (or découpage) is the art of decorating an object by gluing colored paper cutouts onto it in combination with special paint effects, gold leaf and so on. Commonly an object like a small box or an item of furniture is covered by cutouts from magazines or from purpose-manufactured papers.
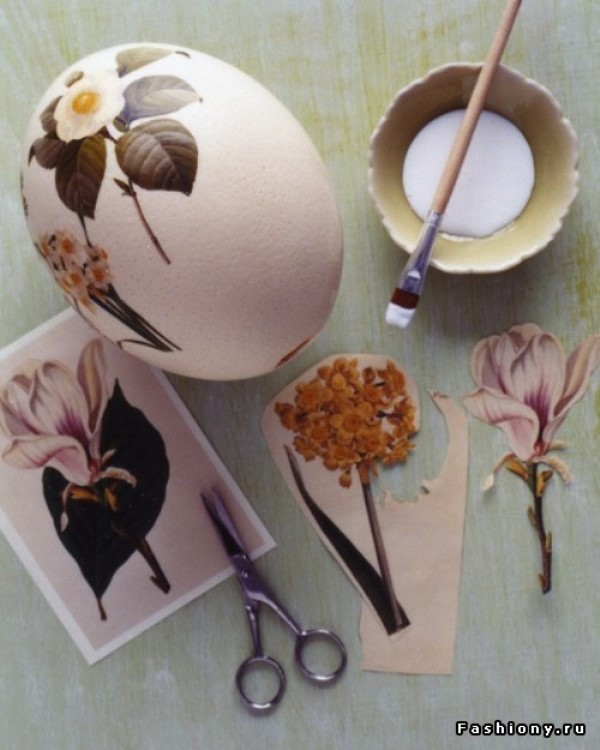
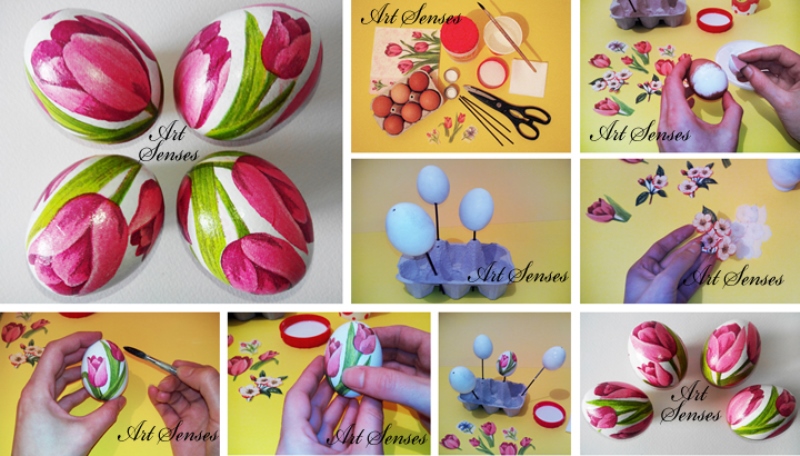
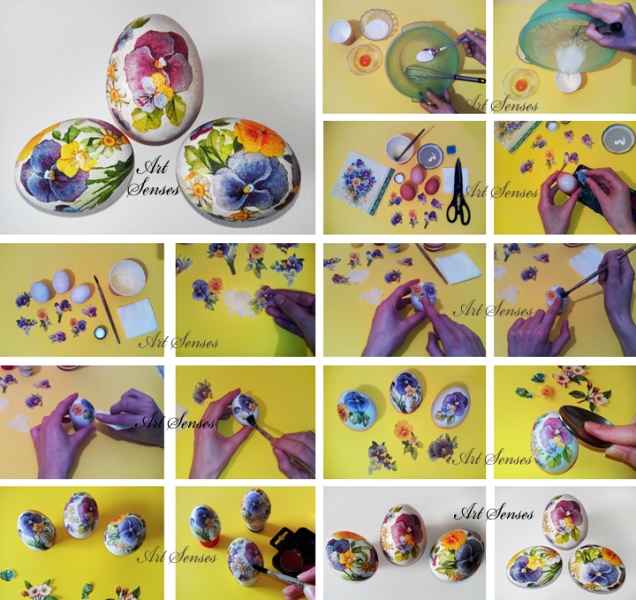
This is an easy way to decorate the eggs with paper napkin cutouts. If you’d rather not use any glue, you can get the same effect by using egg whites.
You will need pretty paper napkins with clear and colorful pictures and a raw egg white. Put the egg white in a bowl and brush it over the picture after you’ve placed it on the egg.
- Use lightly colored eggs for best effect.
- Remove the lower layers of the napkin before you start cutting away the picture.
- It doesn’t look good at the beginning, so wait until it dries.

Comments are closed.